10 Christmas Gifts for Motorcycle Riders in 2025
Motorcycle riders live for the road, and Christmas is the perfect time to celebrate their passion. A well-chosen gift can add comfort, style, and convenience
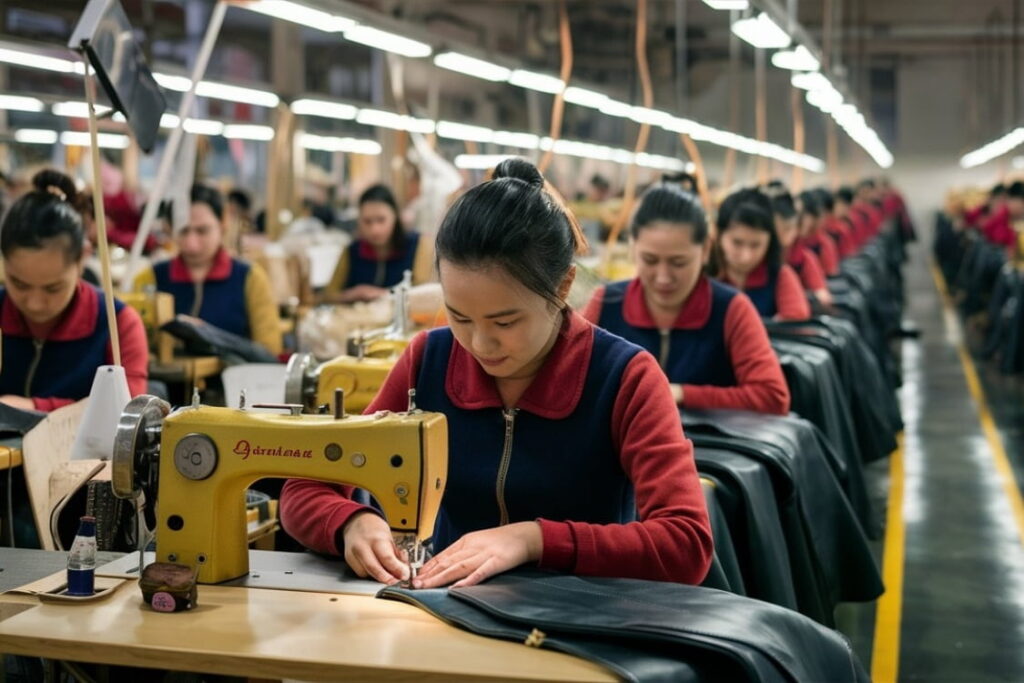
How does your motorcycle leather jacket go from rawhide to a ready-to-wear piece? Well, from the first cut of the leather to the final stitch, it’s a journey of skill and artistry. Let’s dive into the detailed process together.
Did you know that selecting the appropriate leather for your motorbike jacket is similar to finding the ideal spouse. It must be resilient, sturdy, and prepared for your journey. Now let us dissect it.
Numerous animal hides make leather jackets, but two options are a popular choice. First, cowhide. It’s strong and resilient, ideal for enduring the dings and scrapes of a long road trip. It will feel as though you are wearing armor to defend yourself.
Goatskin is another option. It’s more flexible, lighter, and nimble. Like an extra skin, it moves with you and offers comfort without compromising security.
Let’s analyze the characteristics and benefits of different leather types
Now is the time to make sure your jacket feels as beautiful as it looks. Here’s where to go for premium, responsibly sourced leather:

Tanning turns raw animal hides into durable leather. It involves cleaning and treating the skin to prevent decay.
There are two main ways to tan leather: chrome and vegetable. Chrome tanning is the speedy route. It uses chromium salts to make leather soft and flexible. Although it’s not the greenest option, it works well for mass production. This leather might not stand the test of time.
On the other hand, vegetable tanning is a gradual process. It creates robust, long-lasting leather by utilizing organic plant tannins. This process ages like a good wine and is environmentally friendly.
So, the tanning method you choose will impact the quality and longevity of the leather. Although supple and water-resistant, chrome-tanned leather may deteriorate more quickly. Vegetable-tanned leather requires a little more maintenance but is durable and develops a lovely color.
Design and pattern-making are the heart and soul of creating your perfect motorcycle jacket. Pockets, zippers, and vents aren’t just for show. They fulfill specialized functions, such as storing your keys, offering ventilation, or enabling you to modify the fit. A clever design kills two birds with one stone because it combines functionality and aesthetics.
You might be wondering what steps are involved in creating a jacket pattern. A pattern for a jacket begins with a concept. Every curve and line is mapped out using exact measurements. Think of it as a blueprint. Once the pattern is ready, the fabric is cut and sewn together to make a jacket.
Further, technology plays a big role in modern design processes. For example, designers may quickly and precisely develop patterns with tools like CAD. Similarly, 3D modeling reduces errors and saves time by displaying how a jacket moves and looks.
Cutting the leather is where your motorcycle jacket starts taking shape. It all comes down to using the correct instruments and methods.
Initially, designers employ specialized instruments such as sharp blades and rotary cutters. These tools guarantee exact, clean cuts.
Here, accuracy is crucial. Designers carefully measure and plan each cut to minimize waste. It’s similar to fitting pieces together in a Tetris game to make the most use of every piece of leather. This focus on detail makes sure you get the most out of your content.
Once the pieces are cut, they’re ready for assembly. It entails arranging and identifying every component to facilitate the stitching operation.
Stitching and assembling your leather jacket is all about blending style with strength.
Consider the different kinds of stitches first. Usually, you’ll need to employ a few critical stitches for leather jackets. For most seams, the straight stitch is the best option. Simple yet powerful.
Double stitching adds extra durability, perfect for areas with more strain, like the shoulders. The use of zigzag stitches adds flexibility and keeps the fabric from fraying.
As for assembling the jacket, start with the basics. Attach the sleeves, pockets, and other parts one by one. Then, start with the main body.
Now, for durability, use reinforced stitching, especially in high-stress areas. Tight, uniform stitches and sturdy thread are essential. It’s like giving your jacket extra support where it’s needed most.
Adding protective features to your motorcycle jacket is crucial for safety. For instance, armor and padding are essential. They absorb impact and protect you from injuries. It’s like adding armor to your jacket without compromising comfort or style.
You’ll find various types of protective features. A normal option is Kevlar inserts. Kevlar is an abrasion-resistant and sturdy material. Next is CE-rated armor. It disperses the force over a larger surface by absorbing impact.
Remember, It’s vital to incorporate these elements without compromising comfort. Look for armor and padding that fits snugly but doesn’t feel heavy. You should be able to move freely because they should disappear inside the jacket.

Installing zippers and hardware adds the final touch to your jacket.
Start with high-quality zippers and hardware. Choose sturdy, smooth-operating zippers and durable snaps that will stand up to daily wear and tear.
Now, Installing zippers requires careful technique. Zippers should glide effortlessly, while snaps and fasteners need to be secure and reliable.
Further, It’s vital to pay attention to details. A snap that comes free or a zipper that sticks is not what you want. Test each closure to ensure it works flawlessly, so your jacket stays secure and functional on every ride.
In the final stage, your motorcycle jacket gets its finishing touches.
Begin with a careful examination. Verify that all the snaps, zippers, and seams are perfect.
After that, add branding, labels, and decorative elements. These touches not only add personality but also make your jacket stand out. It’s like putting the cherry on top.
Lastly, confirm that the jacket satisfies all quality and safety requirements. Double-check that it’s up to scratch with regulations and will keep you safe.

Motorcycle riders live for the road, and Christmas is the perfect time to celebrate their passion. A well-chosen gift can add comfort, style, and convenience
Motorcycle riders appreciate gifts that resonate with their passion, add value to their rides, and offer something distinctive. The right pick strikes a balance between

Motorcycle dads are passionate riders. They thrive on the open road, love the sound of the engine, and enjoy the thrill of every ride. If
The New Year is the perfect time to surprise the biker in your life with a gift that blends excitement, purpose, and lasting value. Riders
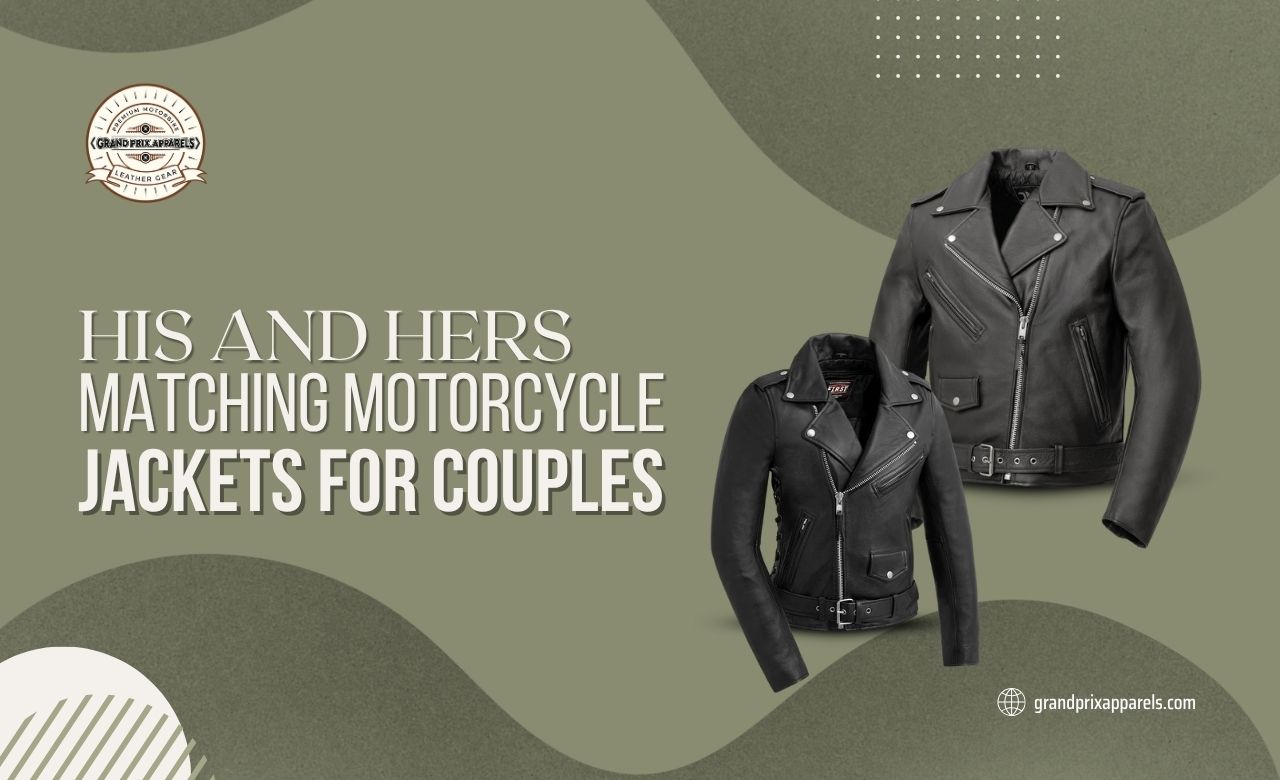
Riding together is more than just a hobby; it’s a way to bond, explore, and create memories on the open road. Matching motorcycle jackets are
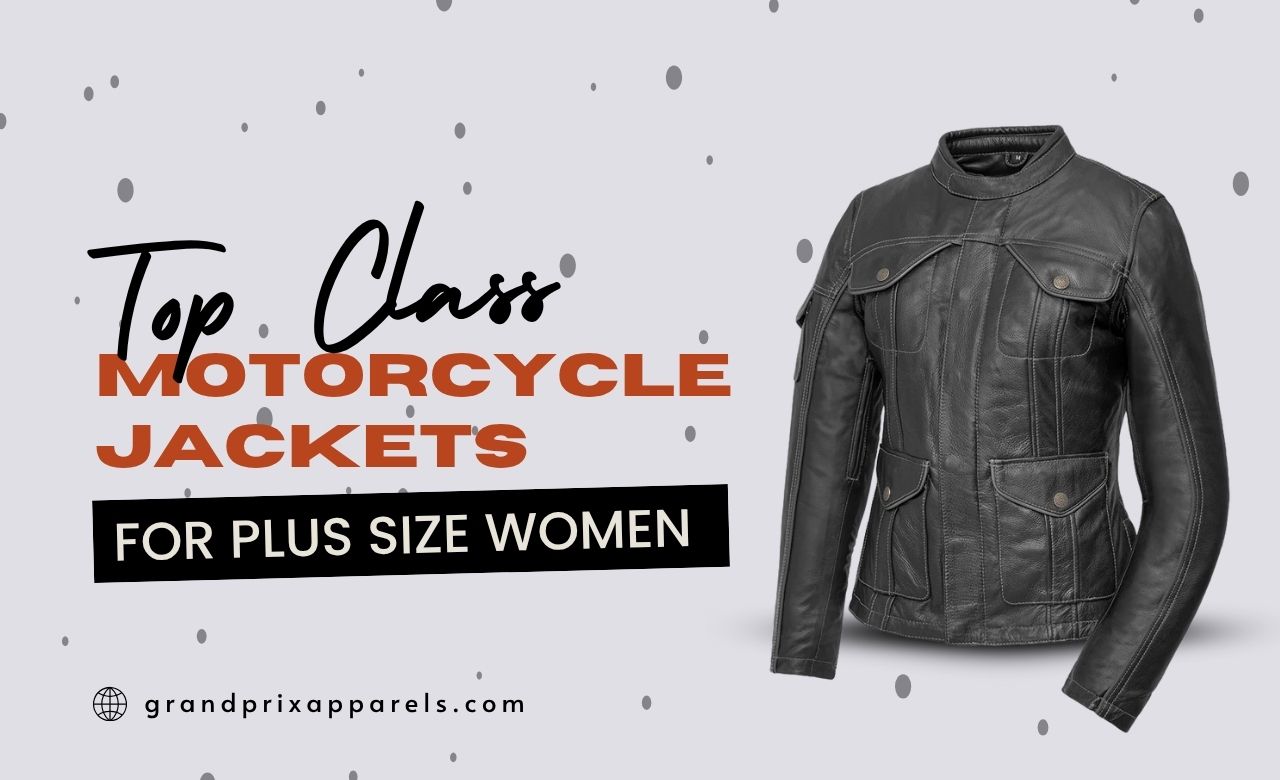
Every rider deserves gear that fits well, looks great, and feels comfortable, no matter the size. For plus-size women riders, finding the perfect motorcycle jacket
70 Pitman Ave, Fords, New Jersey, US
info[at]grandprixapparels.com
custom[at]grandprixapparels.com

Proin ullamcorper pretium orci donec necscele risqueleoam massa dolor imper dietnec consequata congue idsem maecenas malesuada faucibus finibus.
Uluwatu Jimbaran ST, 1919 - Bali, Indonesia
+62 212-345-321
deva@mail.com